

|
|
FAQ - Frequently Asked Questions Working with Images in Articles How to Use the Photo Finder (Image Galleries) In the editor text box when you press the little icon that looks like:
This allows you to get images from various online photo sources, such as Flickr or Wikipedia (or your own images stored on this website.) Step 1 is to press the link that says "Select Image from Online Galley." When you do that, you are presented with a new browser window that looks something like this:
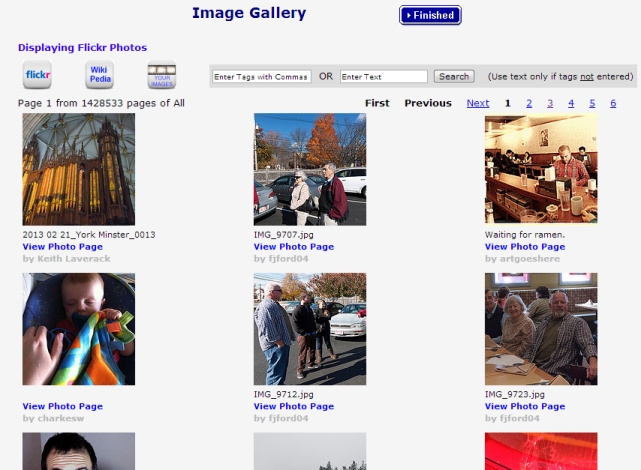
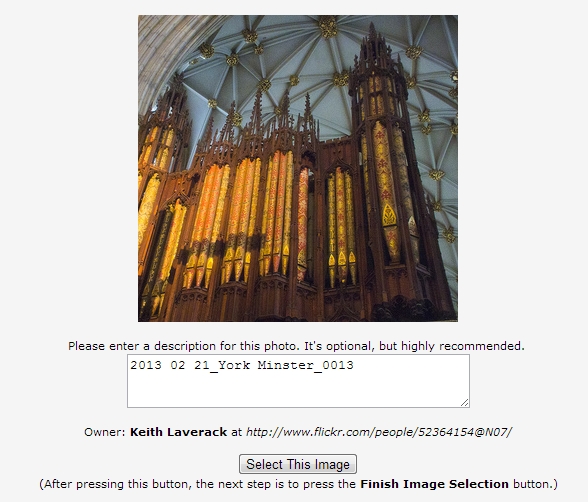
The default gallery comes from the Flickr pages at www.flickr.com. To select other image galleries, press the small square white buttons that say WikiPedia or Your Images. The photos you see are random photos from Flickr. To narrow the selection and find specific images, you can enter Search terms where it says "Enter Text" and then press the Search button. For example, if you selected "mountains", the photos you see would be related to mountains. You could also Enter Tags and it would return to you all the photos that Flickr has tagged with the words you type. Underneath each photo is a description of the photo, followed by the name and link to the person who submitted the image on Flickr. The View Photo Page link takes you to the actual page on Flickr so you can find out everything about the image. To select the image to put in your article, just click on the image. When you do, you'll see something similar to this:
You can then press Select This Image to return to your article page that you are editing. However, we advise filling in the description field, first. Sometimes, it is already filled in, but as you can see in the example, it's not very informative. Thus, we suggest you type your own descriptive text. (This text will appear under the image in your article as a caption.) When you press Select This Image to return to your article, the gallery window will close. And you will be back here:
Now, you immediately do Step 2. Press the Finish Selection button. When you do that, the image you selected will appear in the contents of the article you are submitting, and the caption, if you created one, and the attribution will automatically be displayed when the article is published. Done! |